Using Github
Aim
To get a basic understanding of Github usage and by forking and cloning the dynatop repository then making a minor change.
What is Github?
According to the Github cheat sheet Github is “a platform for hosting and collaborating on Git repositories” and Git is “an open source, distributed version-control system”
Alternatively on a very basic level Git is a way of keeping track of multiple versions of the same files as you work on them and Github is platform that allows you to do this with multiple people. Using Git and Github can be very complex. To go beyond what is covered here use the cheat sheet and the Github learning resources.
Simple usage
Log into Github in a web browser and navigate to the dynatop page on Github. This displays the contents of the repository of projects code (as shown below). A repository is the record kept by Git of changes to the project. Since a repository on a service such as github is not on your local machine (and may be shared between multiple users) is sometimes referred to as the remote repository.
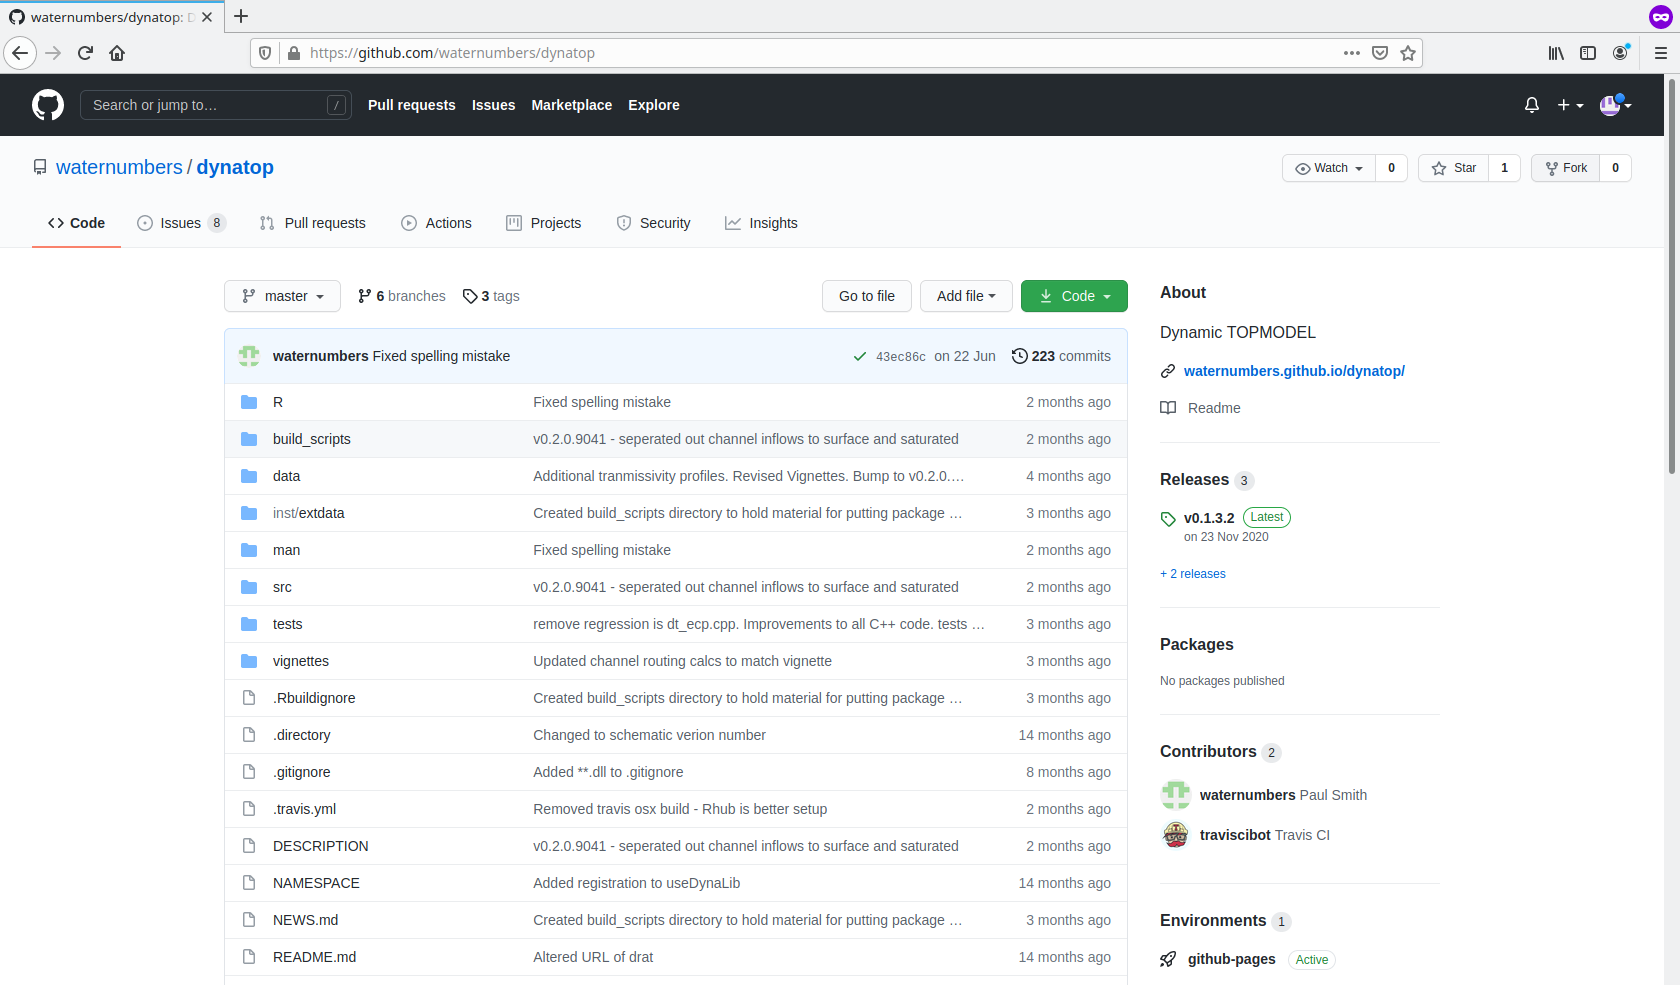
Github repository of waternumbers
The dynatop repository does not belong to and you do not have permission to alter it on Github. The best way for you to alter alter the code and store it on Github is to Fork it (button in top right of web page). This creates your own copy of the dynatop remote repository.
To edit the code you will need a copy on your local machine. To do this you need to clone the git repository. Click on the green code button and copy the URL displayed. Open a command prompt on your local machine and navigate to the eden_data folder. Enter
git clone <URL>. The output should look like the following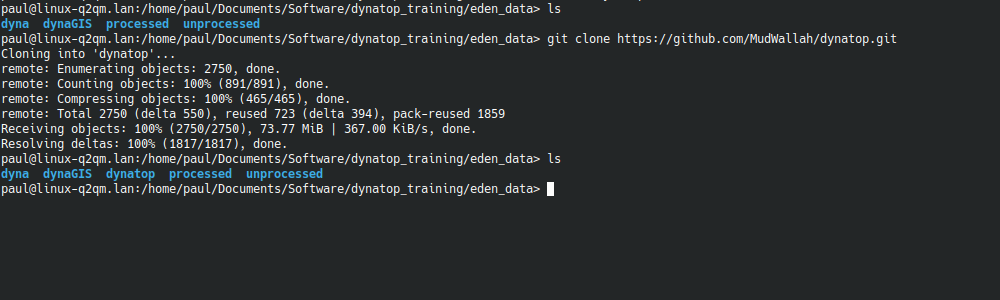
Example of the output of a git clone command
When working on code changes you normally want to the leave the currently working code alone. To do this create branch which can be used as outlined in the figure below.

Splitting and merging a branch as part of a workflow
A new branch is most easily created on the project web page. Create a training branch as shown in the image
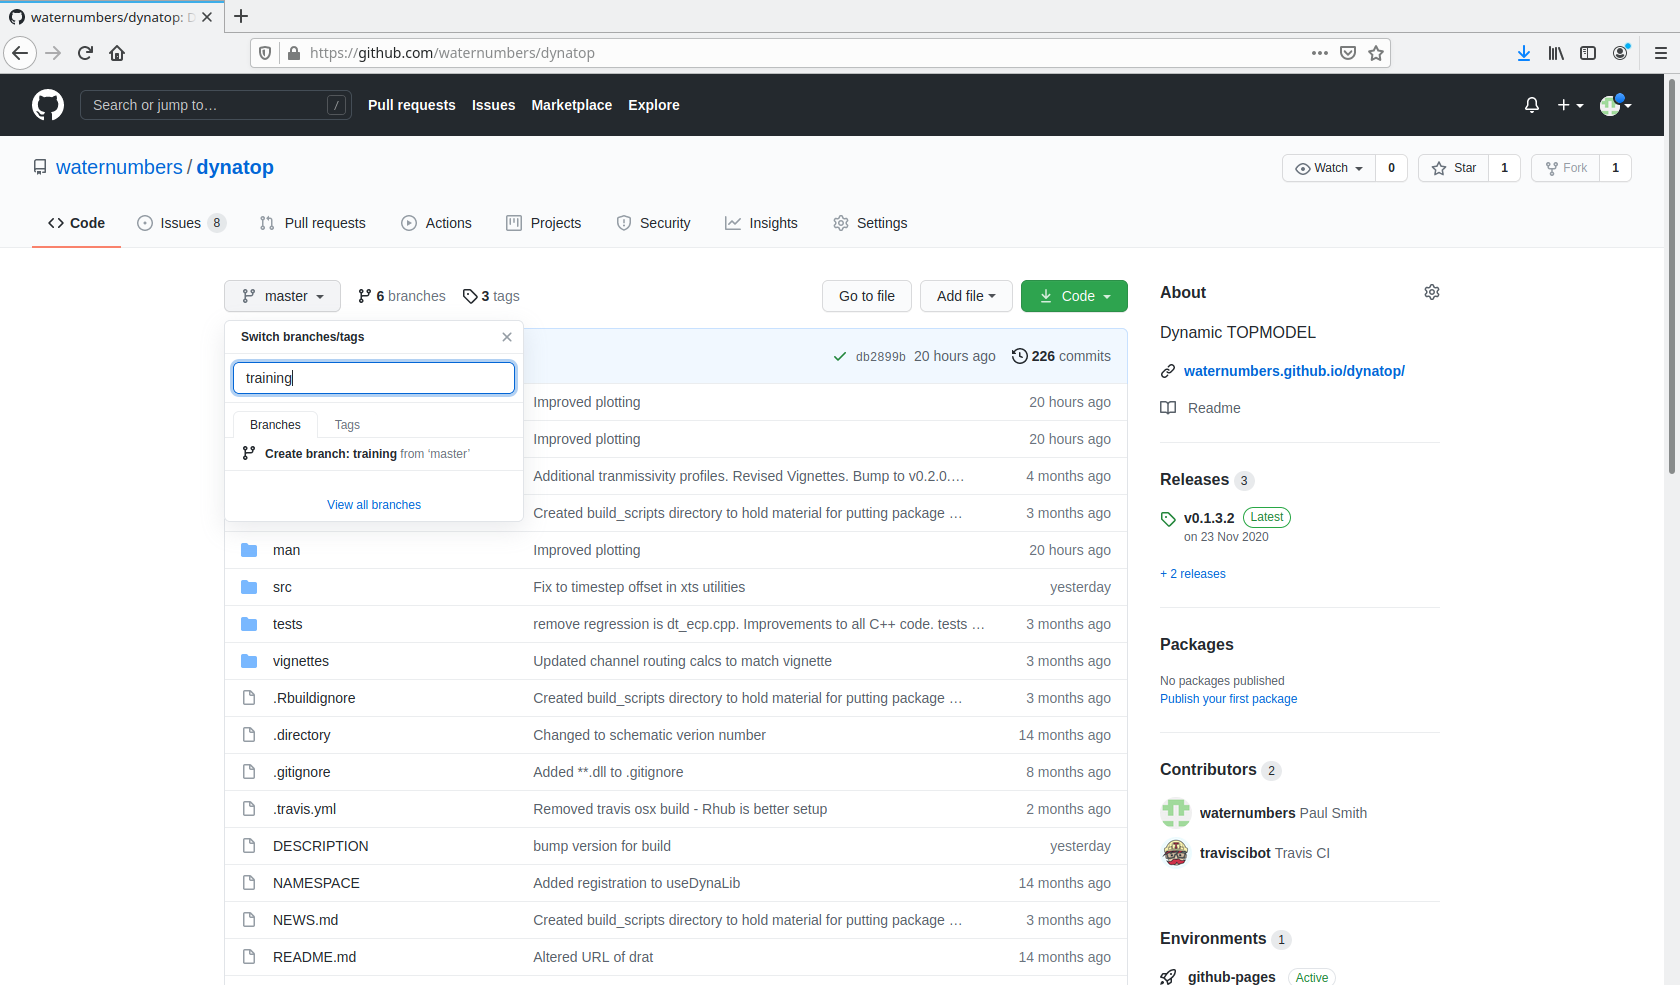
Adding a new branch
Return to the command prompt and type
git checkout training, to switch to working on this branch.Next we will make a simple change to one of the files. Enter the dynatop directory and open the DESCRIPTION file. Edit the version number adding numeric character as shown below and save it
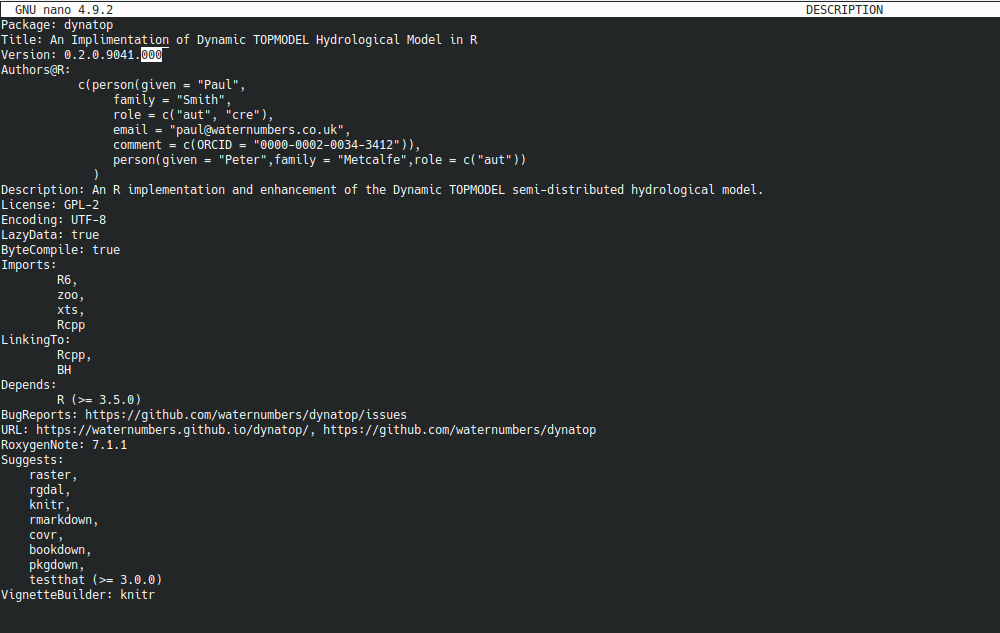
Edited DESCRIPTION file. Highlighted area shows the changes
Return to the command prompt you used before and type
git status. The response should show there is one modified file. To add this change to staging to show you want to add it to the repository typegit add .. You can commit it to the local repository withgit commit -m "I've changed the version number!". The message is a chance to say what changed.You have now commited the change to the local repository. To update the change to the remote repository enter
git push. Go to your repository website on Github, you should be able to see the changes. If you want to update your local repository from the remote teh corresponding call isgit pull.Finally to merge the change back into the master branch you would open a pull request. This is most easily done via the project web page as in the following figure
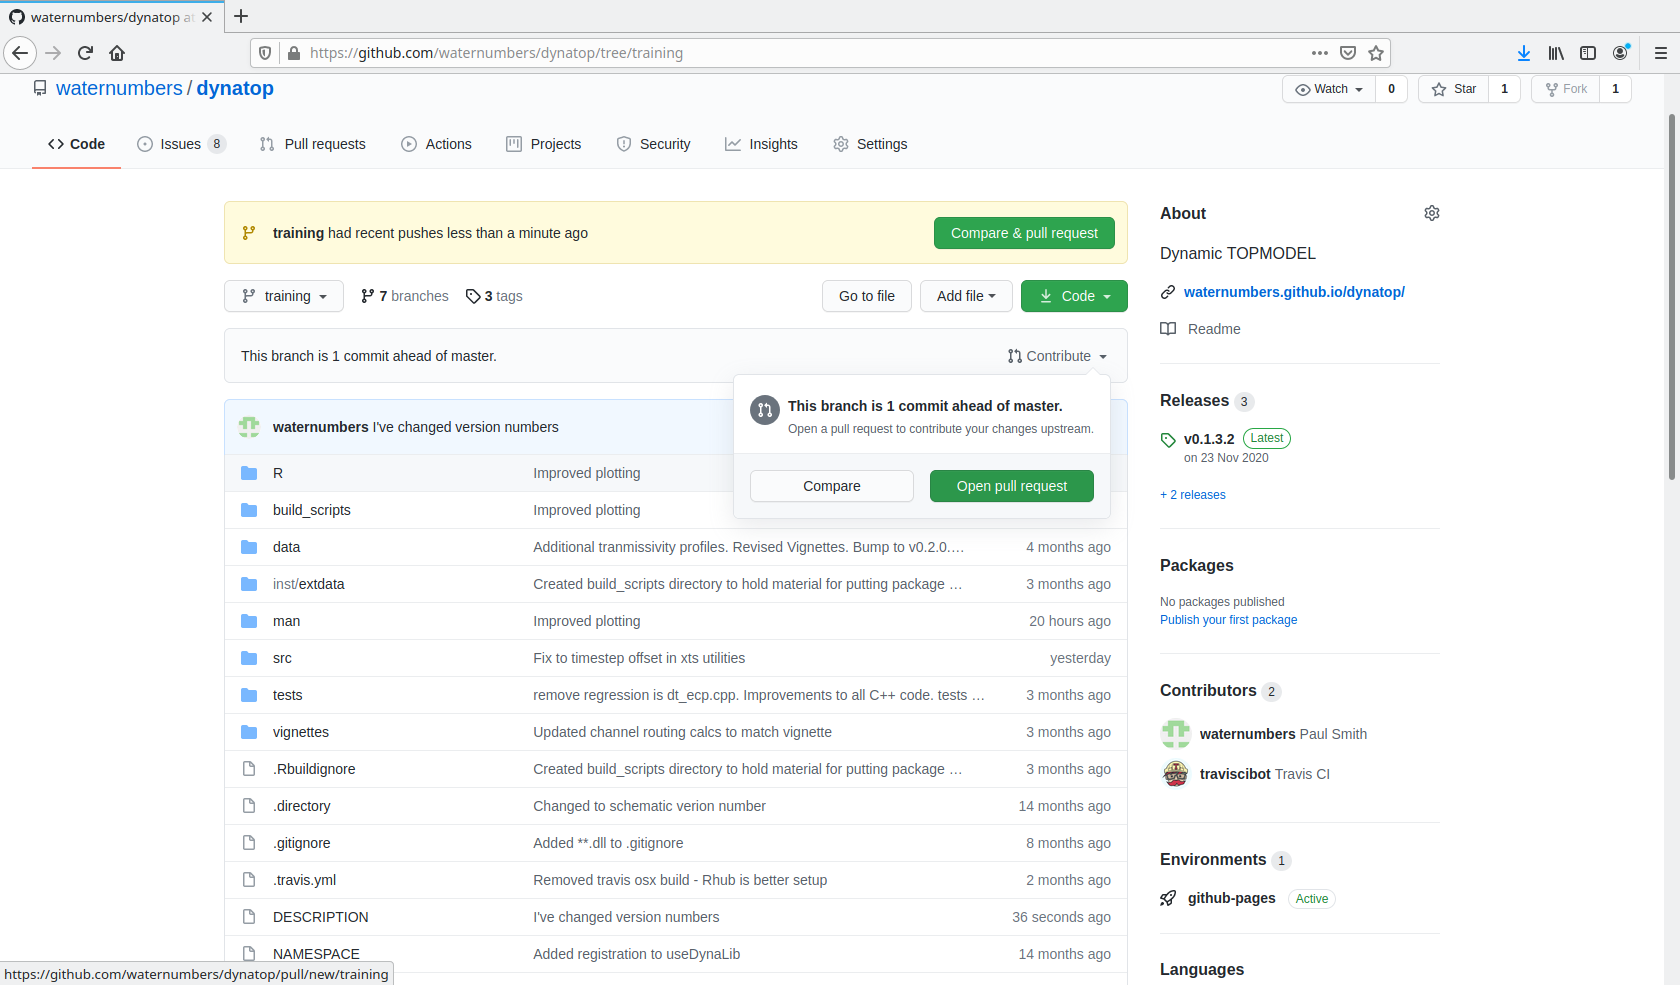
Opening a pull request
There is little point in accepting the pull request as so little has been done!
Pull requests can also be made between remote repositories. You could reguest a change from your dynatop repository is merged back into the original.